How to create a new access request — filling in request details, selecting request type, entering requestor information
Last updated: March 29, 2026 by Steve
Creating Requests
This guide walks you through creating a new request in AccessPoint.
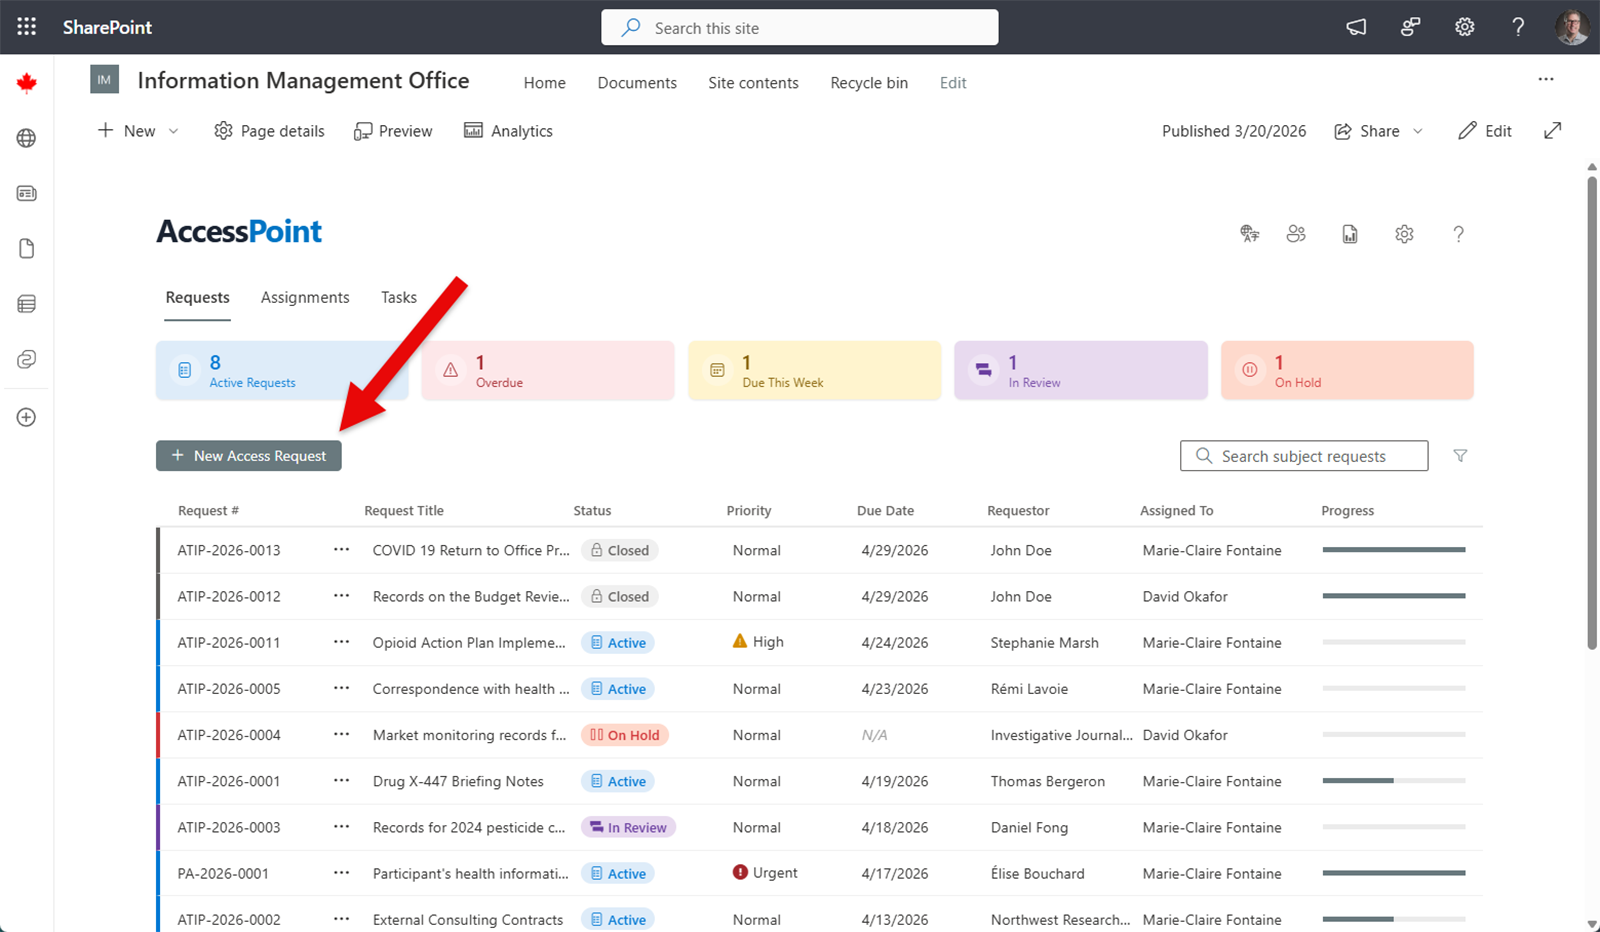
Starting a New Request
- Navigate to the Requests dashboard.
- Click New Request.
Filling In Request Details
The new request form collects the essential information needed to begin processing.
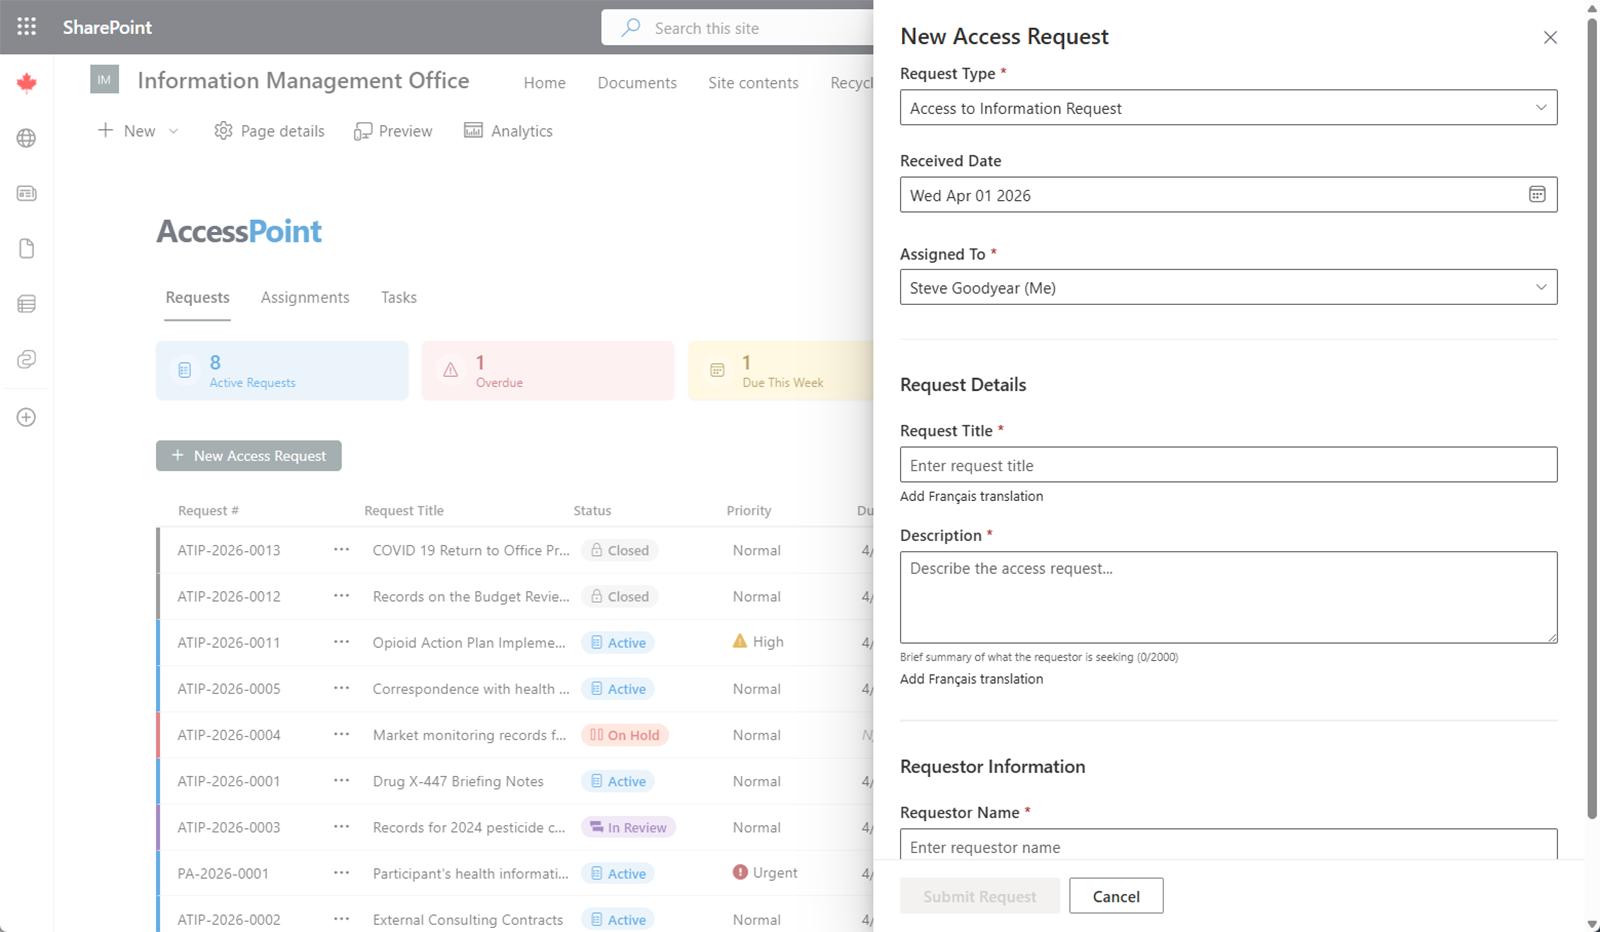
Required Fields
| Field | Description |
|---|---|
| Request Type | Select from the list of request types configured by your administrator (e.g., ATIP, FOI, GDPR SAR). |
| Received Date | The date the request was received by your organization. |
| Requestor Name | The name of the individual or organization making the request. |
| Requestor Email | The requestor's email address for correspondence. |
| Description | A brief summary of what information is being requested. |
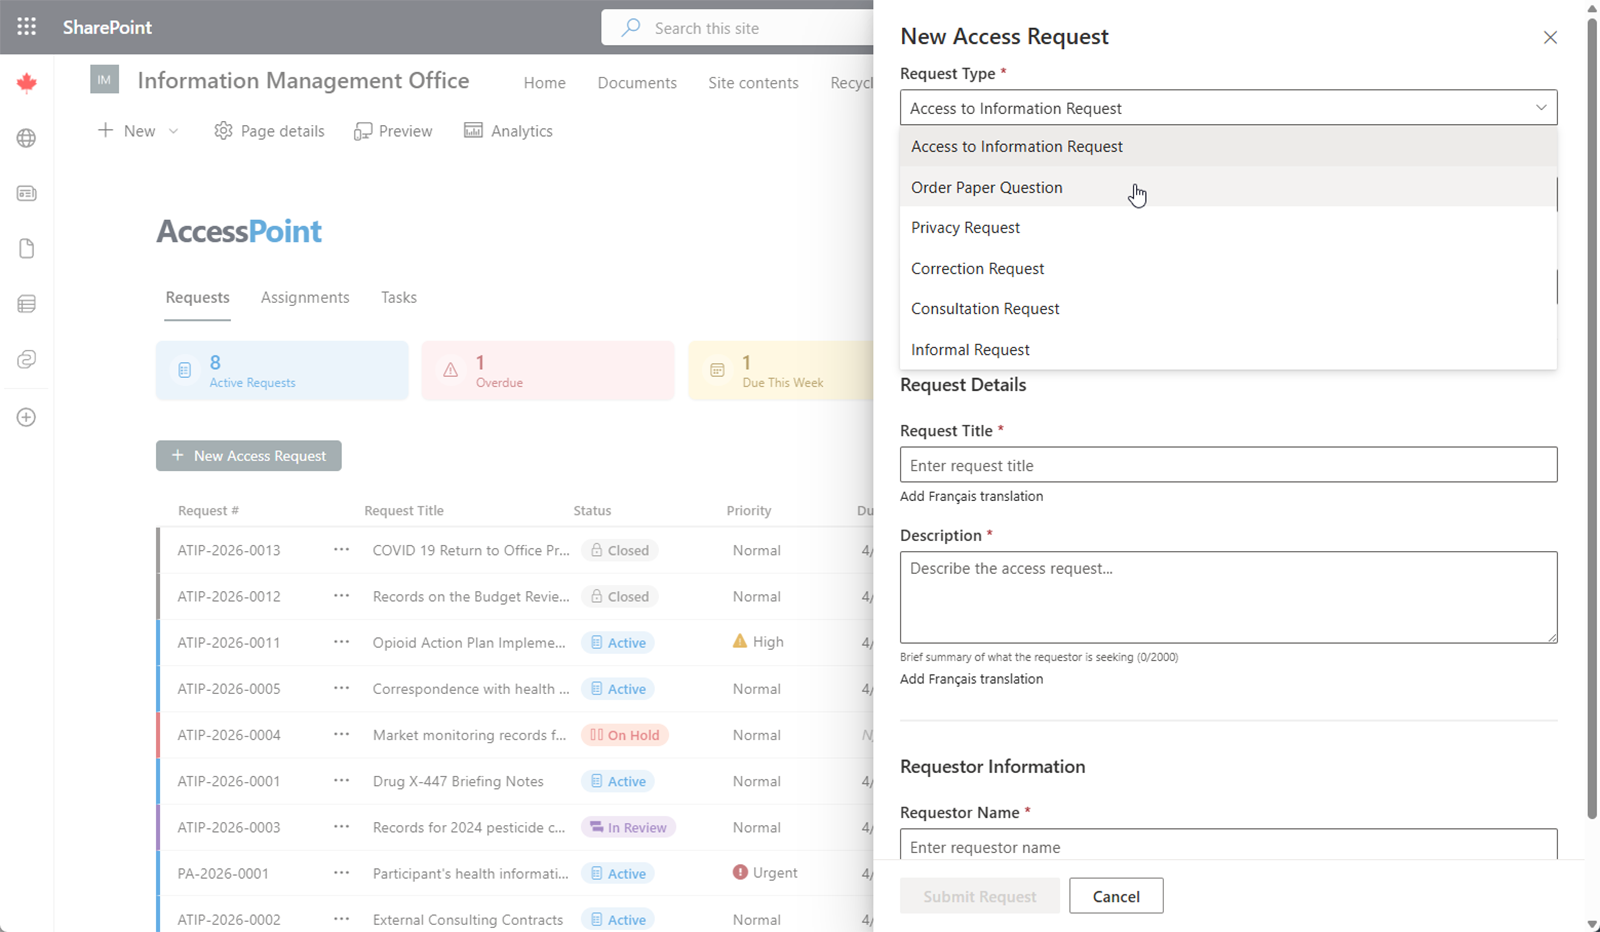
Selecting a Request Type
The Request Type determines which jurisdiction rules, deadline calculations, and workflow settings apply to the request. Your administrator configures the available request types under Administration. Choose the type that matches the legislation or regulation under which the request was received.
Saving and Draft Status
Click Save to create the request. The request is created in Draft status. While in Draft, you can return to edit any of the fields before activating the request.
Draft status gives you time to gather initial information and verify details before the statutory clock starts running.
Automatic Deadline Calculation
Once you activate the request, AccessPoint automatically calculates the statutory deadline based on:
- Jurisdiction rules configured for the selected request type
- Received date entered on the request
- Business day calendars that exclude weekends and statutory holidays
This ensures deadlines are accurate and compliant with your applicable legislation without manual date counting.
Next Steps
After creating and saving your request, you can:
- Review and update request details on the Overview tab
- Enter requestor contact information on the Requestor tab
- Begin creating Assignments for custodians